X-Rite DTP34L HAND SCAN Densitometer
Comes from a very clean professional work environment that closed down.
An essential item for the Photographic and Graphics arts business.
X-Rite® DTP34L densitometer is a color measurement instrument that reports densitometric and dot data. The instrument is designed to calibrate color output devices including large format printers, proofers, and digitally connected color copiers. The DTP34L is a “drop-in” replacement for the X-Rite DTP32 instrument and X-RiteColor DTP34 QuickCal densitometer. The DTP34L densitometer. Specific instructions for using the instrument with your third-party software program can be found in the third-party software documentation. As the DTP34L densitometer is designed to be a drop-in replacement for the DTP32 Automatic Strip Reading Densitometer, reflection versions, it will by default report itself as a DTP32. Most existing software packages will reference a DTP32 in their connection menu while newer software may use DTP34 or QuickCal. Select QuickCal or DTP34 if it is available, otherwise select the DTP32. Refer to Appendix B for further differences. See the Readme file on the CD for any late changes or known issues.
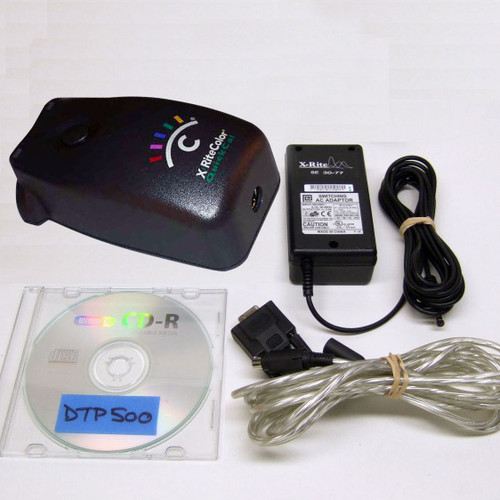
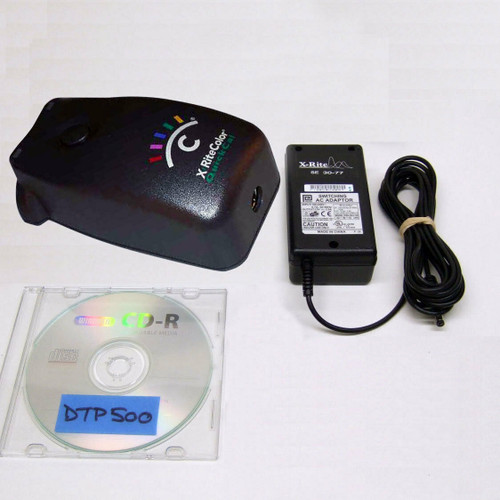
This auction include the following
X-Rite DTP34L
X-Rite DTP34L CD Manual
X-Rite DTP34L Power Supply
X-Rite DTP34L Interface Cables
X-Rite DTP34L Color Management Software.
Instrument Specifications - Preliminary
Measurement Geometry
· Reflection: 0°/45° per ANSI/NAPM 2.17 and ANSI/ISO 5-4
· Multi-sensor array
Measurement Area· 2 mm x 4 mm, 2 mm in the direction of travel. Instrument must set on sample for accurate measurement.
Light Source · Gas pressure @ 2850°K· Lamp file, approx. 1,000,000 scans @ 11” (279.4 mm)
Receiver· Blue enhanced silicon photo diodes
Sample Characteristics
· Patch Size: .400” (10.16 mm) min. in direction of travel by .350” (9 mm) min. wide. 1 mm wide 1.0D contrast space between
patches or .5D min difference between patches.
Measurement Rate· >6” (>154mm)/sec maximum controlled by operator.
System Response· ANSI/ISO Status T
Output· Density, +Dot, -Dot, or Reflectance. Output has x10 capability.
Measurement Range· 0.00D to 2.50D absolute
Linearity· ±0.02D or ±2%, 0 to 2.5D
Repeatability· ±0.01D, 0 to 2.5D
Inter Instrument Agreement· ±0.02D or 2%, 0 to 2.5D
Zero Stability· ±0.01D max
I/O Connection· DB9 socket and USB (future)
Data Interface
· Interface: RS-232 with baud rates from 1200 to 19.2k
· Protocol: RCI commands
Power Requirements· +12v @ 700 mA
Environmental· Operating range: +10°C (50°F) to 35°C (104°F); 30% to 60% RH
· Interface Cable
· AC Adapter (P/N SE30-87)
Optional Accessories
· Mac Serial Adapter (P/N SE108-DB9PA-01)
· 25 Pin Serial Adapter (P/N SE08-231-01)
· Line Cords
For the most recent list of supporting third-party software, see X-RiteColor Enabled Partner literature item L11-031A and L11-031B, or visit


